
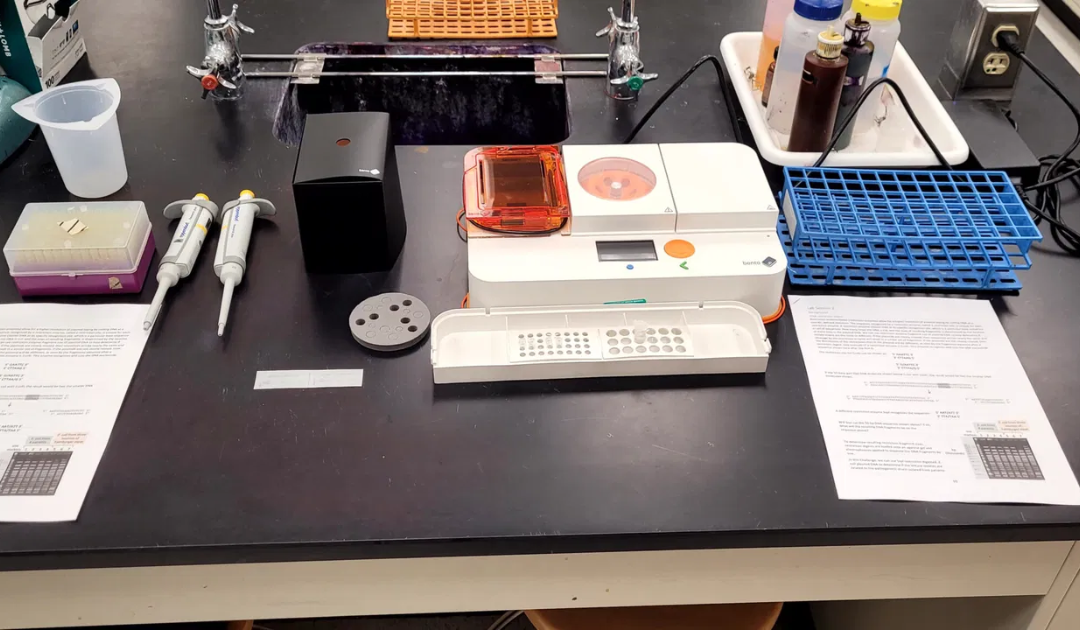
If you work with molecular testing, PCR is part of your daily routine. You load samples, set parameters, and wait for results that guide important decisions. Still, many people use the instrument without fully understanding what happens once the lid closes. Knowing how PCR machines work step by step gives you better control over your workflow and helps you troubleshoot issues with confidence.
PCR machines, also called thermal cyclers, rely on precise temperature changes to amplify DNA. Each cycle builds on the last, doubling the target sequence until it reaches a detectable level. When you understand the logic behind each stage, the process feels less like a black box and more like a controlled, predictable system.
This guide walks you through each step so you can connect what you see on the screen with what is happening inside the block.
Step One: Initial Denaturation
The process begins with denaturation. The PCR machine heats the sample to a high temperature, usually around 95 degrees Celsius. This heat separates the double-stranded DNA into single strands. Without this step, primers would not bind, and amplification could not begin.
This stage sets the foundation for everything that follows. If denaturation is incomplete, downstream steps suffer.
Step Two: Annealing
Next comes annealing. The machine lowers the temperature so primers can attach to their complementary DNA sequences. This temperature varies depending on primer design. Too high and primers will not bind. Too low and nonspecific binding may occur.
Understanding how PCR machines work step by step helps you see why annealing temperature matters so much. Small adjustments can make a noticeable difference in specificity and yield.
Step Three: Extension
During extension, the temperature rises again, usually to around 72 degrees Celsius. At this stage, DNA polymerase builds new strands by adding nucleotides to the primers. This is where amplification actually happens.
Each completed cycle doubles the amount of target DNA. After 30 to 40 cycles, even tiny starting amounts become detectable.
Step Four: Cycling and Control
The PCR machine repeats these steps in precise cycles. Temperature accuracy and uniform heating across wells are critical. If one area of the block runs hotter or cooler, amplification can vary between samples.
This is why equipment quality matters. Labs often rely on thermal cyclers from trusted suppliers like NE LabSystems to maintain consistent performance across runs.
Step Five: Final Hold and Analysis
After cycling completes, the machine holds the samples at a stable temperature until removal. From there, amplified DNA moves on to analysis through gel electrophoresis, real-time detection, or sequencing.
Knowing how PCR machines work step by step helps you identify whether an issue stems from setup, programming, or equipment behavior.
Why This Knowledge Improves Your Results
When you understand each stage, you make smarter choices. You select better annealing temperatures. You recognize signs of incomplete denaturation. You spot inconsistencies early and adjust before rerunning samples.
This understanding turns troubleshooting into a logical process instead of trial and error.
Final Note
PCR success depends on precision, consistency, and control. When you fully understand how PCR machines work step by step, you gain confidence in your results and your workflow.
If you are evaluating thermal cyclers or refining PCR performance, explore reliable laboratory solutions from NE LabSystems and support your work with equipment built for accuracy and consistency.